How to add a logo watermark to a video with Codex MCP and Medux

Use Codex and Medux through MCP to place a logo watermark on a video and export a branded MP4. This guide covers input preparation, the approval gate, task monitoring, and a concrete output check.

Watch the complete workflow: add a logo watermark to video with Codex, MCP, and Medux. Watch on YouTube ↗

Codex-specific workflow

Run Add a Logo Watermark to Video as a Codex MCP task

Use the active workspace as the source of truth. Ask Codex to identify the source video, logo image, placement, scale, and opacity, select the Medux video watermark tool, and keep the Medux task ID and returned output with the rest of the project. Naming the input roles and the expected result prevents an agent from guessing which file should be used where.

Codex prompt pattern

In this workspace, use the Medux video watermark tool through Medux MCP to add a logo watermark to a video.
First inspect and identify the source video, logo image, placement, scale, and opacity.
Show me the exact tool arguments before execution.
After the task completes, return the branded MP4 and verify that the logo position, size, opacity, duration, and video playback are correct.

Approval gate

Before approving the call, compare the selected tool, file or asset IDs, ordering, timing, and output settings with the request. If a local filename was mapped to an uploaded Medux file ID, keep that mapping visible so it can be audited later.

Result verification

Let Codex monitor an asynchronous task until it reaches a terminal state, then save or report the branded MP4. The final check is explicit: confirm that the logo position, size, opacity, duration, and video playback are correct.

Before you start

Prepare two files in the Codex workspace: the source video and the logo image. In the recorded workflow, the video is sample.mp4 and the logo is logo2.png.

Source assetA video file that will receive the watermark. The example uses a 1920×1080 MP4.
Logo assetA transparent or square PNG logo. The example uses a 180×180 logo in the top-right corner.
Tip: Give Codex a clear placement rule, not just “add the logo.” Mention the corner, approximate size, and whether the watermark should be subtle or prominent.

Step-by-step workflow

01

Ask Codex to add the logo watermark

Start with a simple instruction. The key is to name both assets and describe the placement clearly.

Use Medux to add logo2.png to sample.mp4. Resize the logo to an appropriate size and place it in the top-right corner of the video.
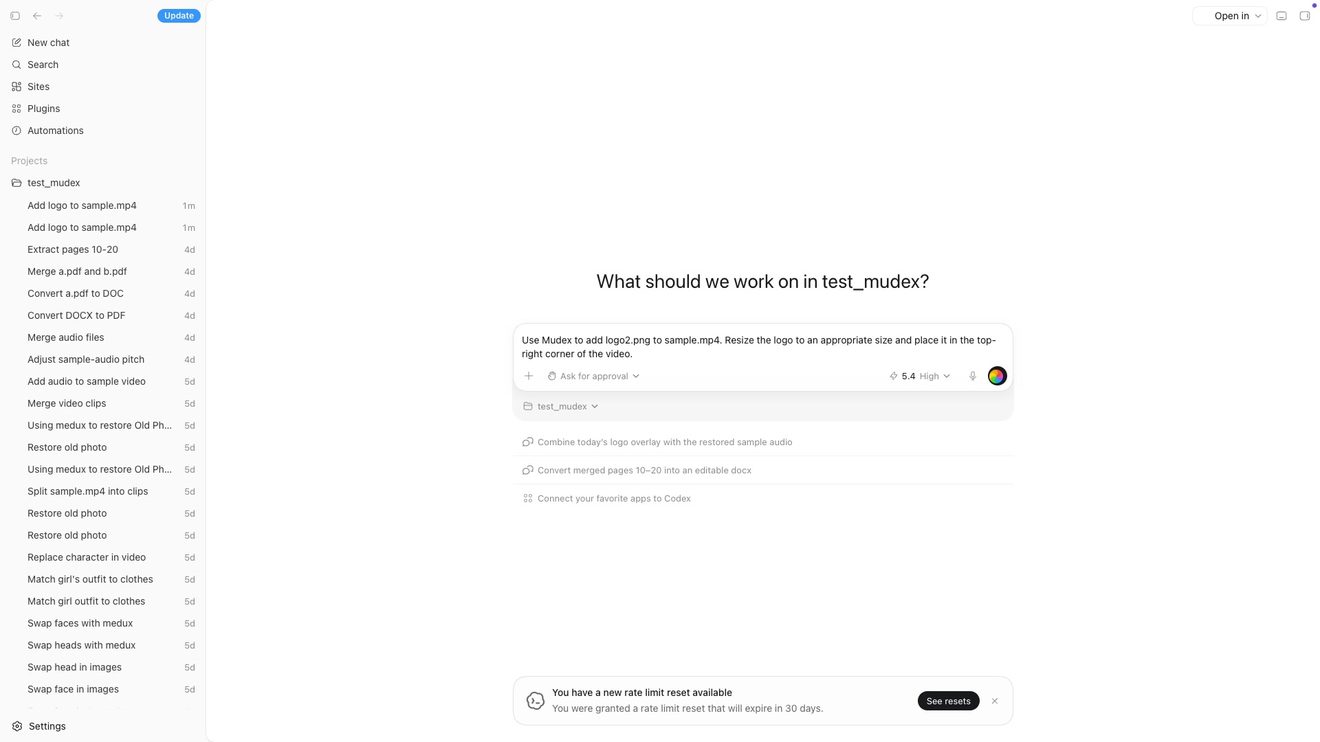
Codex prompt for adding a logo watermark to sample.mp4
Codex receives the task: add logo2.png to sample.mp4 and place it in the top-right corner.
02

Let Codex inspect the project files

Codex checks the workspace before calling Medux. It confirms the video file, the logo file, and a prior output frame that helps estimate the watermark size and placement.
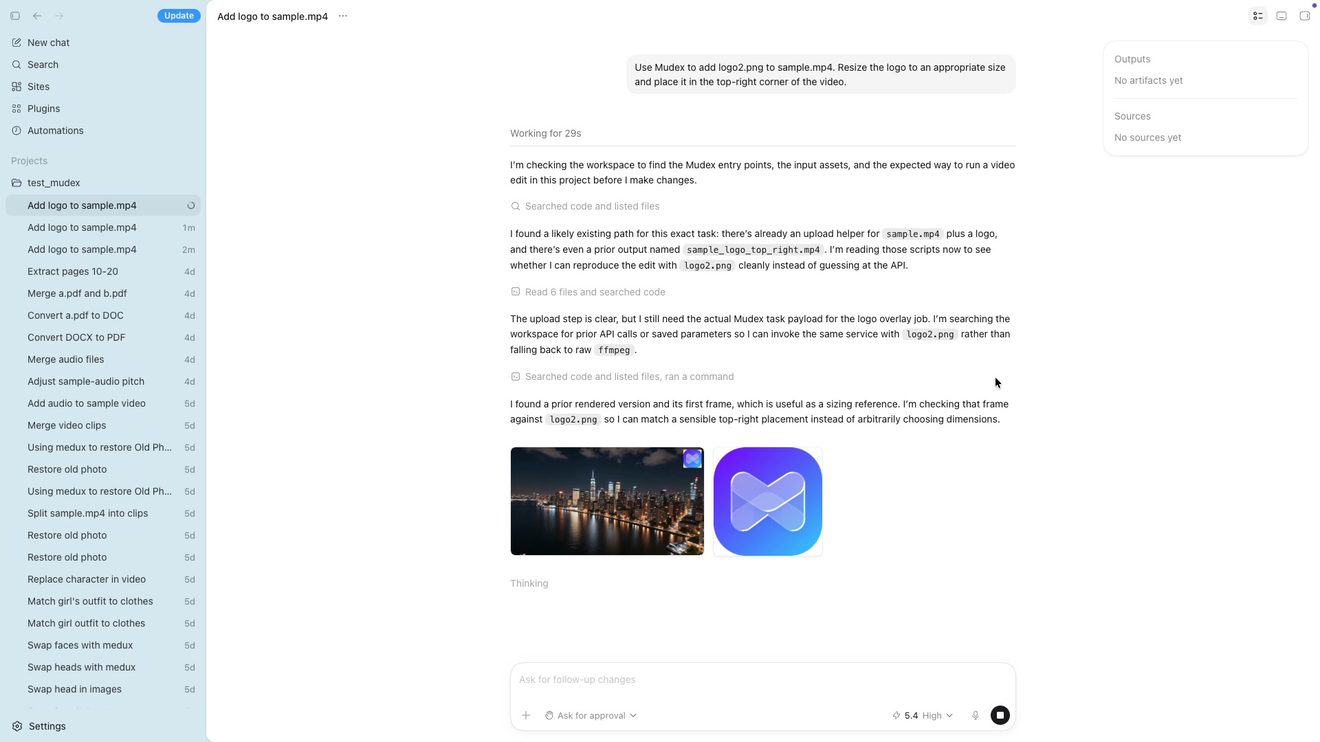
Codex inspecting the video, logo, and reference frame
Codex uses the existing assets and preview information instead of guessing the watermark dimensions.
03

Find the Medux add-logo workflow

Next, Codex identifies the Medux workflow for adding a logo to video. The important parameters are the logo position, width, and height.

{
  "tool": "add_logo_to_video",
  "video": "sample.mp4",
  "logo": "logo2.png",
  "placement": {
    "corner": "top-right",
    "logo_width": 180,
    "logo_height": 180,
    "margin_x": 24,
    "margin_y": 24
  }
}
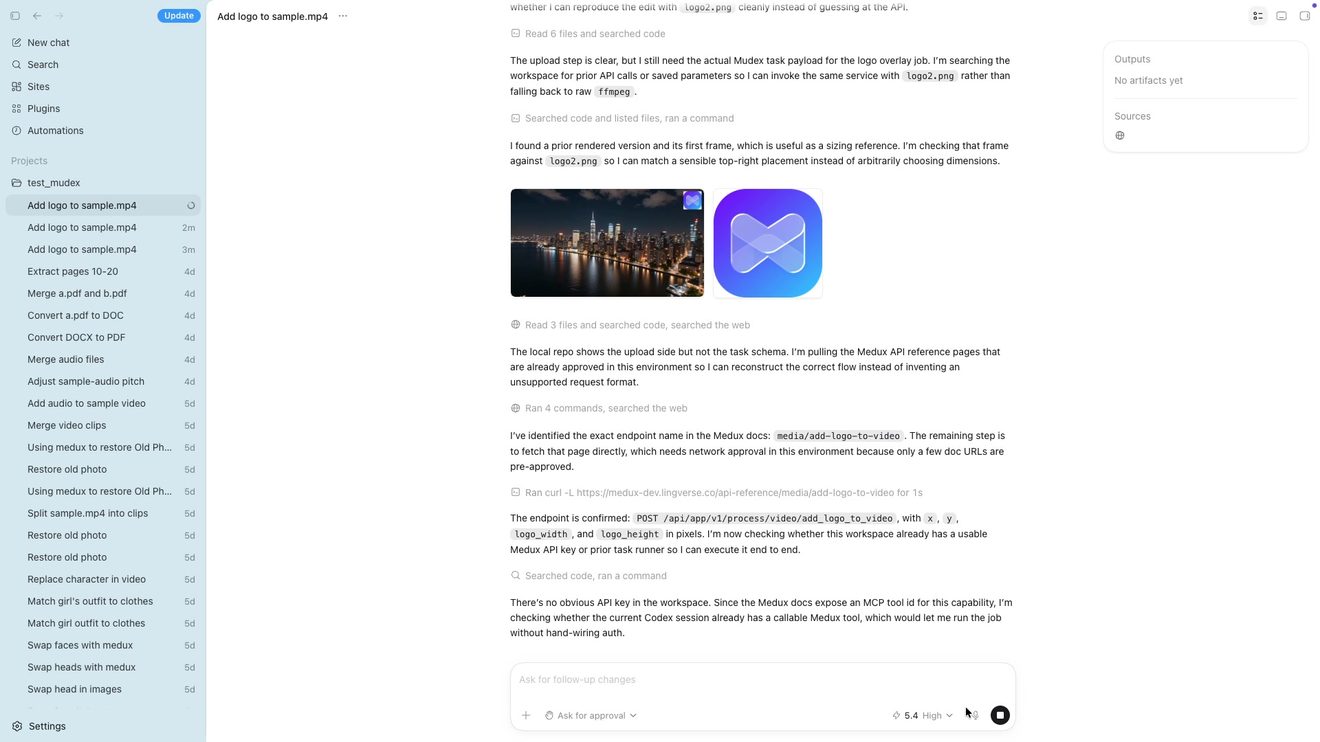
Codex finding the Medux add_logo_to_video endpoint and parameters
The workflow maps the natural-language request into a concrete Medux add-logo job.
04

Upload assets and submit the Medux task

Codex prepares upload targets for the MP4 and PNG, then submits the Medux task. In the example, it chooses a 180×180 logo with a 24px top-right margin for a 1920×1080 source video.

POST /api/app/v1/process/video/add_logo_to_video
{
  "video_url": "<uploaded-sample-mp4-url>",
  "logo_url": "<uploaded-logo2-png-url>",
  "x": 1716,
  "y": 24,
  "logo_width": 180,
  "logo_height": 180
}
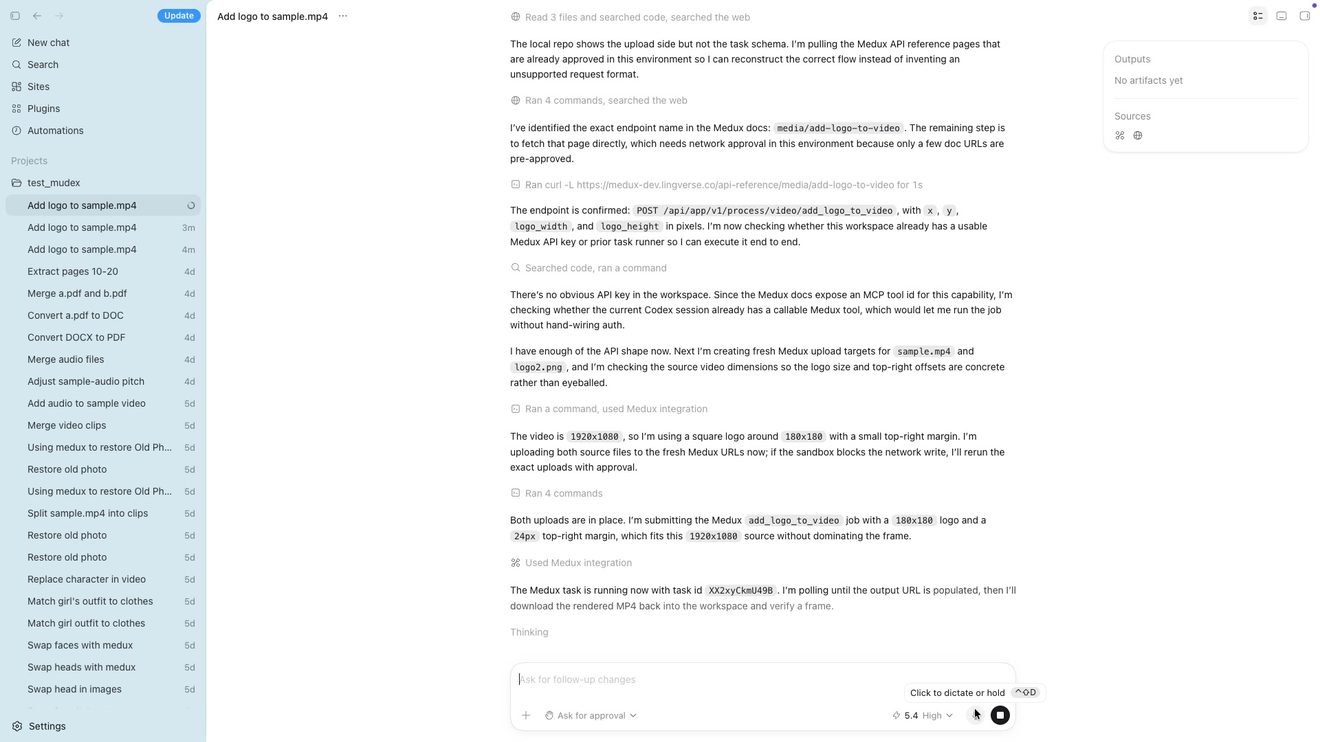
Codex submitting a Medux add logo task
Codex submits the job and starts polling until Medux returns the generated MP4 URL.
05

Approve the download when needed

If the environment asks for confirmation before downloading the Medux result, approve the command so Codex can save the completed video into the workspace.
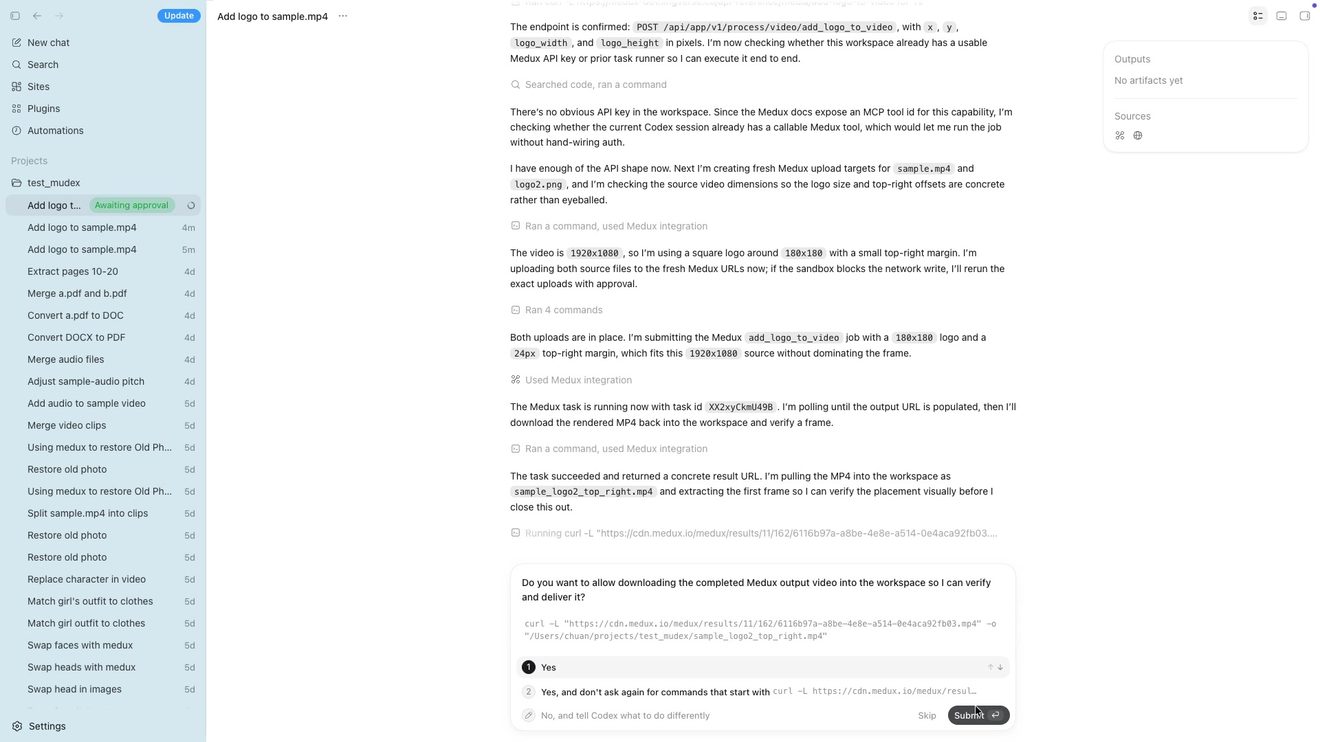
Approval prompt for downloading the Medux output video
The generated Medux output is downloaded back into the Codex workspace for review.
06

Verify the final MP4

Codex saves the final file, extracts a preview frame, and confirms that the logo is visible in the top-right corner without dominating the video.
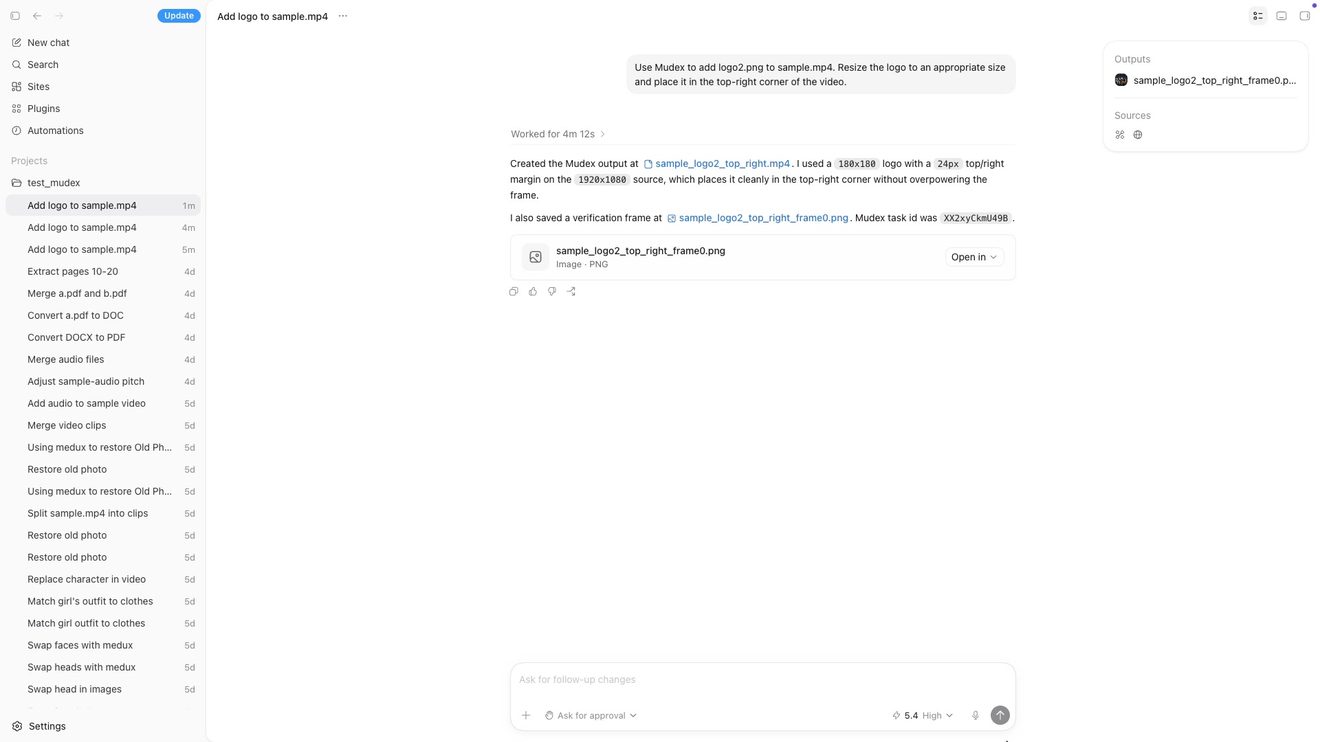
Codex showing the final watermarked video output
Output example: sample_logo2_top_right.mp4 plus a preview frame for quick visual verification.

Publishing checklist

Use this workflow as a short product tutorial for your website, docs, YouTube description, or social post. Keep the story focused: one prompt, one MCP connection, one finished video.

Clear input
Name the video and logo files directly.
Controlled placement
Specify corner, size, and margin.
Visual proof
Always verify a frame before publishing.

Example result

src / logo / rst demonstration

Below is the complete watermark example: src is the original video, logo is the image added as a watermark, and rst is the final branded video generated by Medux.

src
Source video. Original video before the logo watermark is applied.
logo
Logo image used as the video watermark
Logo image. The logo asset added to the source video.
rst
Generated result. Final video with the logo watermark applied by Medux.

Quick answer

How do I run Add a Logo Watermark to Video with Codex MCP?

Codex can use the Medux video watermark tool through Medux MCP to place a logo watermark on a video and export a branded MP4. The workflow identifies the exact inputs, reviews the tool arguments, monitors processing, and verifies the returned result.

What does this Medux tutorial cover?

Codex can use the Medux video watermark tool through Medux MCP to place a logo watermark on a video and export a branded MP4. The workflow identifies the exact inputs, reviews the tool arguments, monitors processing, and verifies the returned result.

Related topics: Add a Logo Watermark to Video · Add a Logo Watermark to Video with Codex MCP · Medux MCP tutorial