01
Open the project in Codex
Start inside the folder that contains your avatar video and audio file. In the operation video, Codex first checks the workspace so it knows exactly which files can be used for the Medux task.
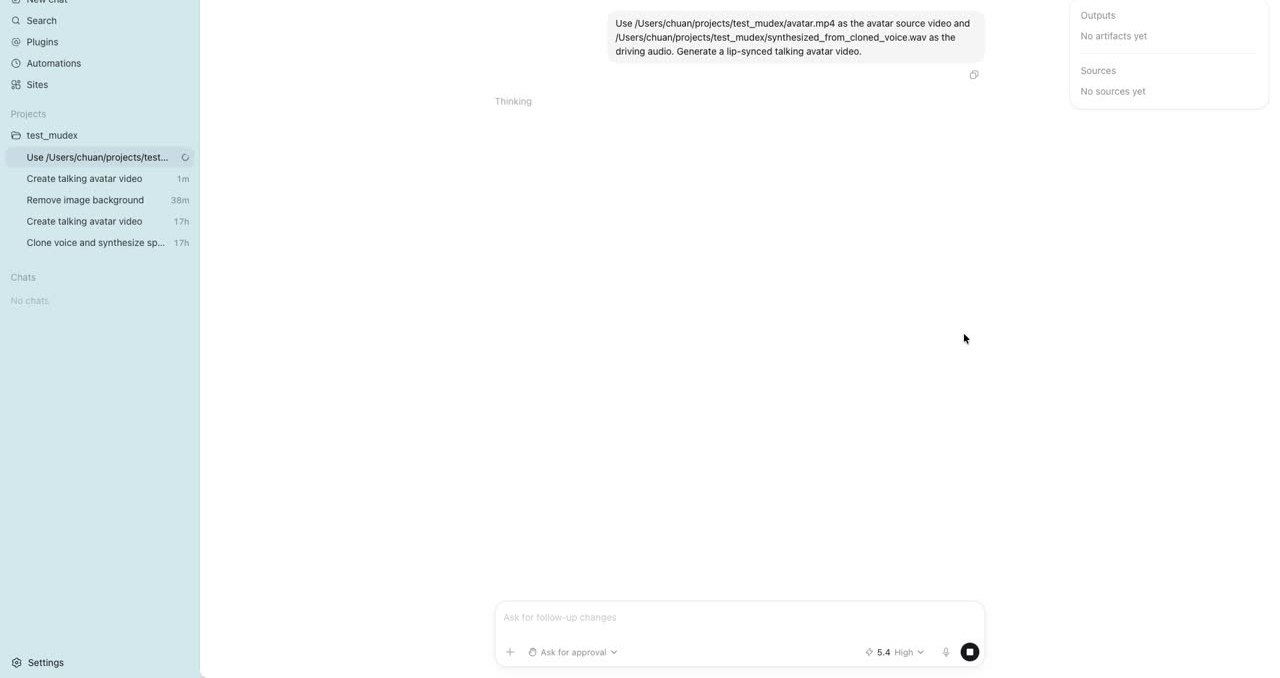
Use Codex and Medux through MCP to synchronize a source avatar video with a new audio track. This guide covers input preparation, the approval gate, task monitoring, and a concrete output check.
Codex-specific workflow
Use the active workspace as the source of truth. Ask Codex to identify the source avatar video and driving audio, with each role clearly assigned, select the Medux lip-sync tool, and keep the Medux task ID and returned output with the rest of the project. Naming the input roles and the expected result prevents an agent from guessing which file should be used where.
In this workspace, use the Medux lip-sync tool through Medux MCP to create an AI lip sync video.
First inspect and identify the source avatar video and driving audio, with each role clearly assigned.
Show me the exact tool arguments before execution.
After the task completes, return the lip-synced MP4 and verify that mouth movement follows the driving speech and the full video and audio play correctly.Before approving the call, compare the selected tool, file or asset IDs, ordering, timing, and output settings with the request. If a local filename was mapped to an uploaded Medux file ID, keep that mapping visible so it can be audited later.
Let Codex monitor an asynchronous task until it reaches a terminal state, then save or report the lip-synced MP4. The final check is explicit: confirm that mouth movement follows the driving speech and the full video and audio play correctly.
Keep the setup small. The operation video uses a short avatar clip and a WAV audio file, then asks Codex to operate Medux through the MCP connection.
lip_synced_avatar.mp4 so it is easy to preview and reuse.# Example project layout
project/
avatar.mp4
reference_voice.wav
tts.txt
config/
output/The operation is straightforward: Codex reads your goal, checks the files, chooses the Medux tools, uploads media, creates the generation task, polls the task status, and saves the final video locally.
Start inside the folder that contains your avatar video and audio file. In the operation video, Codex first checks the workspace so it knows exactly which files can be used for the Medux task.
Make sure the Medux MCP server is enabled before asking Codex to run the workflow. Once MCP is connected, Codex can call Medux directly instead of making you switch dashboards or write a separate upload script.
# Example only: use the exact MCP config from your Medux account
export MEDUX_API_KEY="your_medux_api_key"

# Then start Codex in the folder that contains your media files
codexUse one direct instruction. The best prompt names the input files, explains the goal, and tells Codex what to return. This keeps the tool call clean and reduces back-and-forth.
Use Medux through MCP to create a lip-synced avatar video.

Inputs:
- avatar.mp4
- reference_voice.wav

Please upload both files to Medux, create the required avatar source, generate a lip-and-tongue synced video from the audio, poll the task until it is complete, and download the final MP4 as output/lip_synced_avatar.mp4.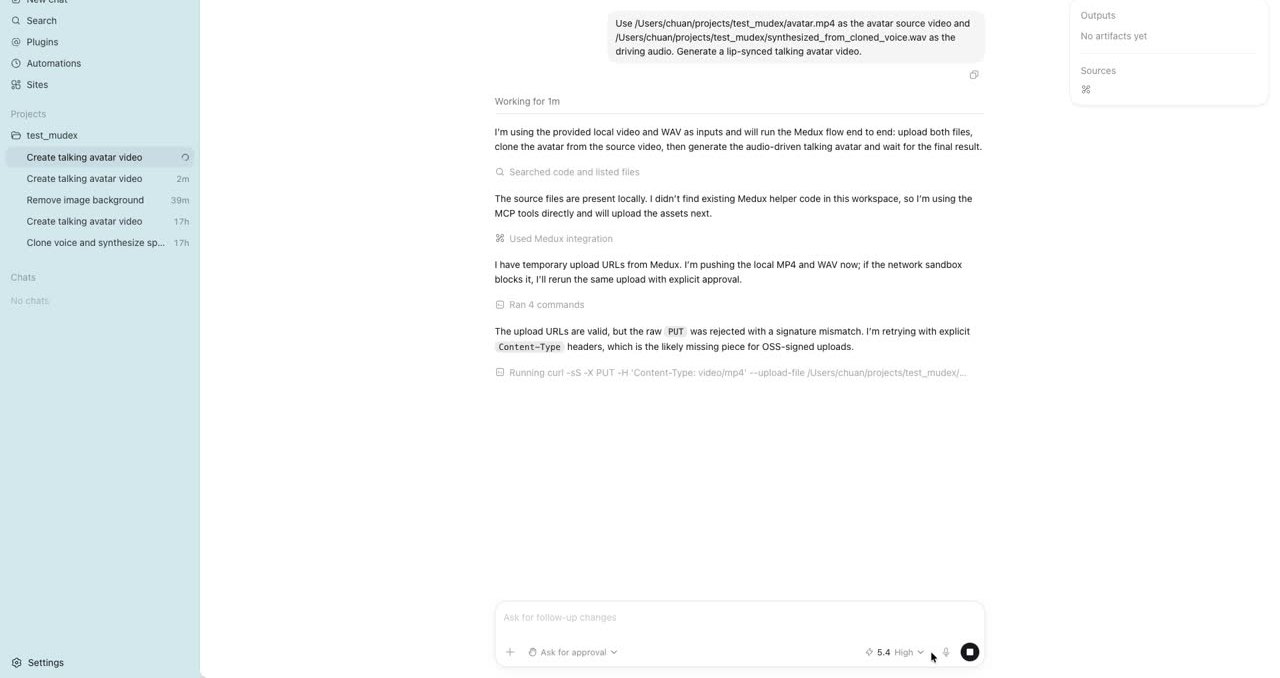
Codex uses the Medux MCP tools to create upload slots, send the video and audio, and prepare the avatar source. In practice, this is the part that replaces manual dashboard uploads.
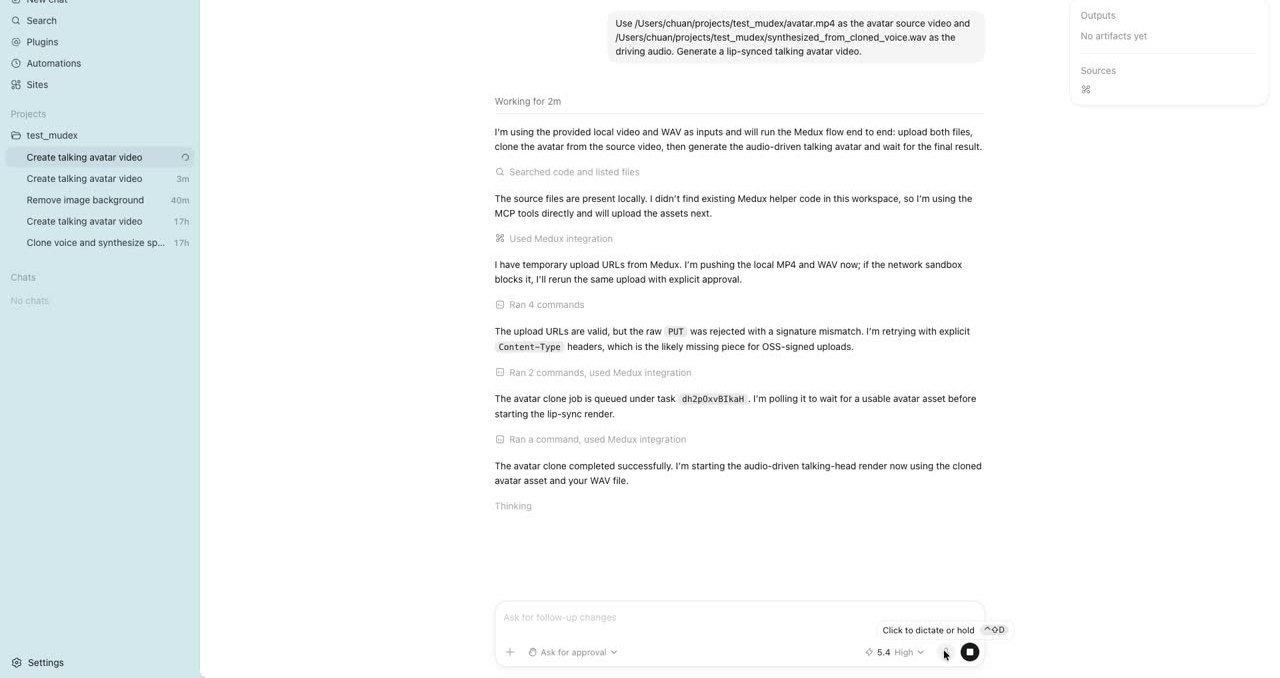
After the avatar source is ready, Codex launches the generation task. Medux uses the video as the visual identity and the audio as the timing reference, then renders a synced output.
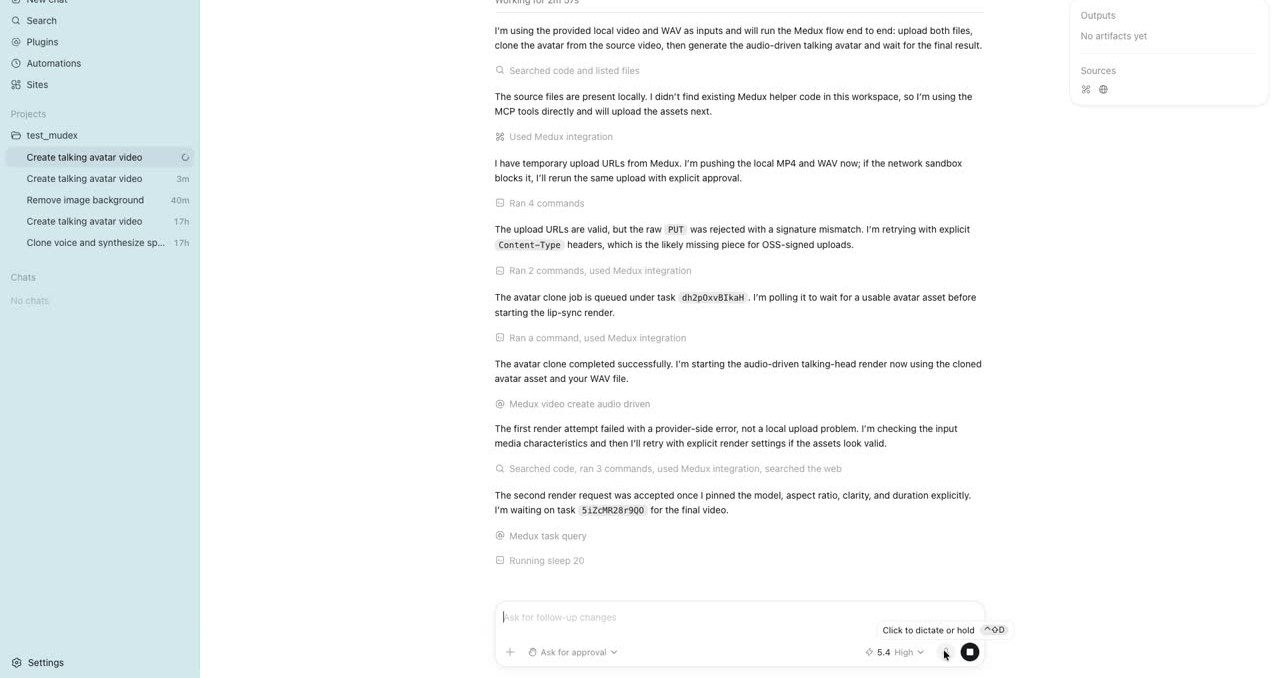
Do not refresh manually. Codex can keep checking the Medux task status and continue only when the render is finished. This is especially useful for longer videos or higher-quality outputs.
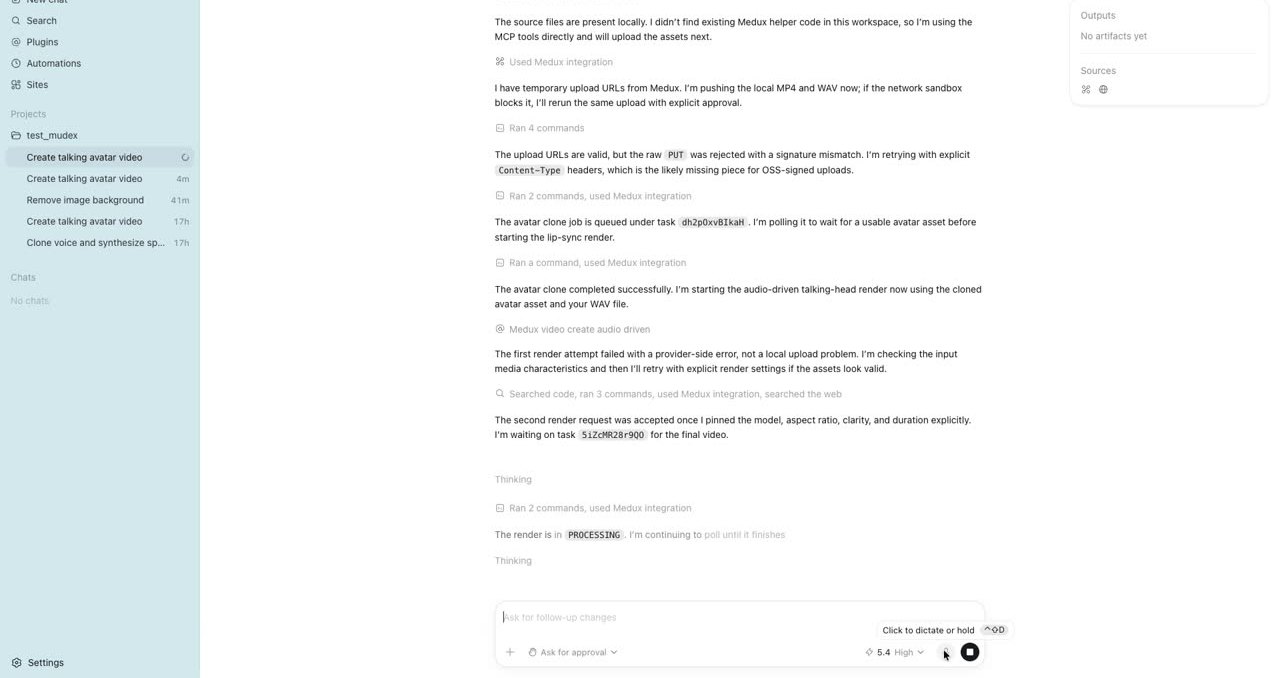
When the task is complete, Codex downloads the output and saves it locally. Open the result and check three things: the mouth follows the audio, the face remains stable, and the final video plays from start to finish.
# Quick local check
ffprobe output/lip_synced_avatar.mp4

# Preview the generated video
open output/lip_synced_avatar.mp4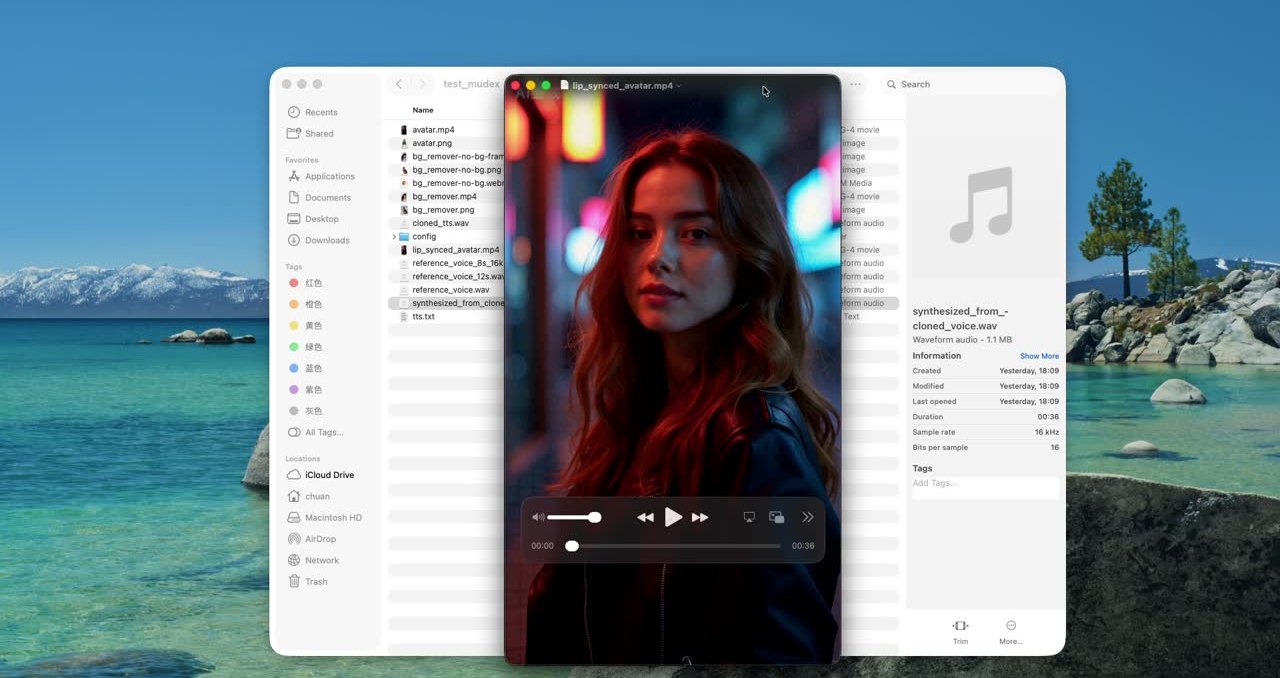
Use this checklist before publishing the result or adding it to a larger content workflow.
Medux gives Codex a media workflow layer through MCP. For lip and tongue sync, Codex only needs the source video, the speech audio, and a clear instruction. Medux handles the rendering, while Codex handles the tool calls, task tracking, and final download.
Example result
Below is the final lip-synced avatar video generated by Medux after Codex completes the MCP workflow.
Continue with a nearby Medux workflow or compare how the same task works across Claude MCP and Codex MCP.
Quick answer
Codex can use the Medux lip-sync tool through Medux MCP to synchronize a source avatar video with a new audio track. The workflow identifies the exact inputs, reviews the tool arguments, monitors processing, and verifies the returned result.
Codex can use the Medux lip-sync tool through Medux MCP to synchronize a source avatar video with a new audio track. The workflow identifies the exact inputs, reviews the tool arguments, monitors processing, and verifies the returned result.
Related topics: AI Lip Sync Video · AI Lip Sync Video with Codex MCP · Medux MCP tutorial
Build with the API
Use the API reference to automate this workflow, or follow the matching guide in our official GitHub repository.