01
Connect Medux MCP to Codex
Add the Medux remote MCP endpoint to Codex, provide an authorized credential, and confirm that the medux_image_outfit_swap tool is available.
Learn to change clothes and outfits in an image with the Medux API through Codex or Claude MCP. Check inputs, tool calls, task status, and output.
POST/api/app/v1/process/image/outfit_swap
Transfer the outfit from the reference image onto the target subject.
Open the Image Outfit Swap API reference →The Medux operation and request fields are shared. Switch tabs for the client-specific prompt, approval pattern, screenshots, and walkthrough.
Codex-specific workflow
Use the active workspace as the source of truth. Ask Codex to identify the target person image and outfit reference image, with each role clearly assigned, select medux_image_outfit_swap, and keep the Medux task ID and returned output with the rest of the project. Naming the input roles and the expected result prevents an agent from guessing which file should be used where.
In this workspace, use medux_image_outfit_swap through Medux MCP to swap clothes and outfits in an image.
First inspect and identify the target person image and outfit reference image, with each role clearly assigned.
Show me the exact tool arguments before execution.
After the task completes, return the outfit-swapped image and verify that the requested clothing is transferred while the target identity and body position remain consistent.Before approving the call, compare the selected tool, file or asset IDs, ordering, timing, and output settings with the request. If a local filename was mapped to an uploaded Medux file ID, keep that mapping visible so it can be audited later.
Let Codex monitor an asynchronous task until it reaches a terminal state, then save or report the outfit-swapped image. The final check is explicit: confirm that the requested clothing is transferred while the target identity and body position remain consistent.
Transfer the outfit from the reference image onto the target subject.
Codex selects medux_image_outfit_swap, presents the arguments for review, calls Medux, and reports the response.
Start with a clear instruction that names the Medux operation and the intended inputs.
Transfer the outfit from the reference image onto the target subject.Confirm these values before approving the MCP tool call. The linked API page remains the source of truth for current limits and response semantics.
| Field | Type | Requirement | Purpose |
|---|---|---|---|
source_image_file_id | string | Required | Source image file id. |
target_outfit_image_file_id | string | Required | Target outfit image file id. |
model_id | string | Optional | Outfit swap model id. Default: image-outfit-swap-default. |
title | string | Optional | Optional task title. |
Add the Medux remote MCP endpoint to Codex, provide an authorized credential, and confirm that the medux_image_outfit_swap tool is available.
Prepare the source files, asset IDs, text, or settings required by the operation. Upload local media first when the tool requests file IDs.
Use one direct instruction with the intended values. Codex should select the Medux tool and show the proposed arguments before execution.
Check that the tool is medux_image_outfit_swap and that each file ID, task ID, option, and output setting matches your request before approving it.
If Medux returns an asynchronous task, let the agent monitor it until completion; otherwise review the immediate response and save any result identifiers or output URLs.
User goal
  ↓
Codex selects medux_image_outfit_swap
  ↓
Review inputs and approve the tool call
  ↓
Medux runs Image Outfit Swap
  ↓
Codex reports the response and outputCodex can call the medux_image_outfit_swap Medux MCP tool to transfer the outfit from the reference image onto the target subject. This guide covers the required inputs, approval flow, result handling, and the matching API reference.
This workflow uses medux_image_outfit_swap. Review its arguments before approval and consult the API reference for the current contract.
Claude-specific workflow
Keep the goal, source assets, and constraints together in the conversation. Ask Claude to restate the target person image and outfit reference image, with each role clearly assigned before proposing the Medux outfit-swap tool. That context checkpoint makes the file roles and desired outcome easy to correct before any Medux call is approved.
Using the assets and requirements in this conversation, help me swap clothes and outfits in an image with Medux MCP.
Restate which input fulfills each role: the target person image and outfit reference image, with each role clearly assigned.
Propose the the Medux outfit-swap tool call and summarize its arguments before asking for approval.
When it finishes, return the outfit-swapped image with a checklist confirming that the requested clothing is transferred while the target identity and body position remain consistent.Have Claude summarize the intended transformation, identify every source asset by role, and list the important constraints. Review that summary together with the proposed tool arguments; correct the conversation first if a file, order, time range, or setting is ambiguous.
Keep the Medux task ID in the conversation while Claude checks progress. When processing ends, ask for the outfit-swapped image plus a concise validation checklist confirming that the requested clothing is transferred while the target identity and body position remain consistent.
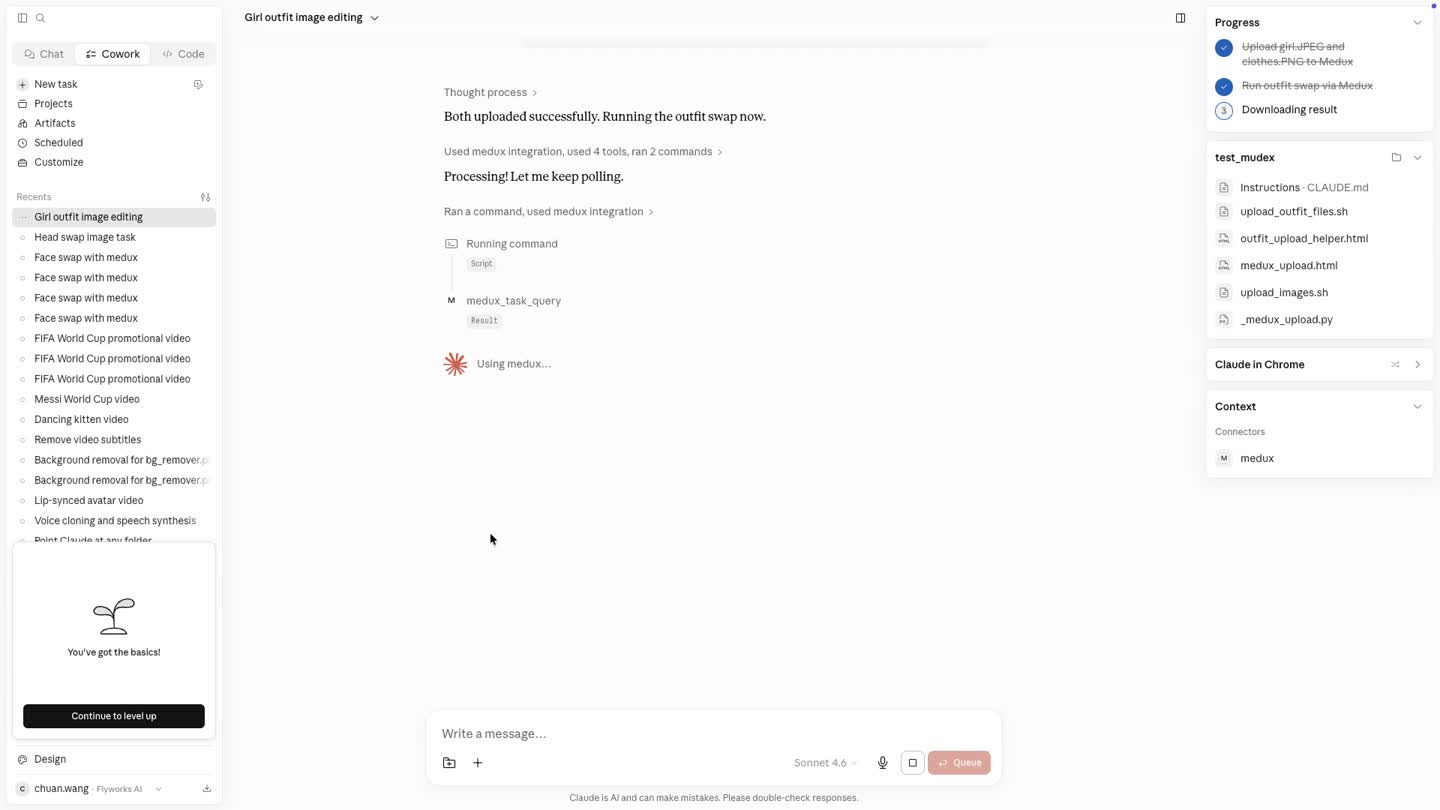
The video demonstrates a compact five-stage flow. Claude reads the request, locates the local files, obtains upload URLs, sends the assets to Medux, starts the outfit-swap task, monitors processing, and saves the returned image.
Place the image of the person and the reference image of the desired outfit in the same project folder. In the example, the source file is girl.JPEG and the clothing reference is clothes.PNG.
Describe the target result, identify both files, and tell Claude to use Medux through MCP. The tutorial also asks Claude to upload the files with a curl command.
Using Medux, change the girl's outfit in girl.JPEG to match the clothing shown in clothes.PNG. Upload the files using a curl command.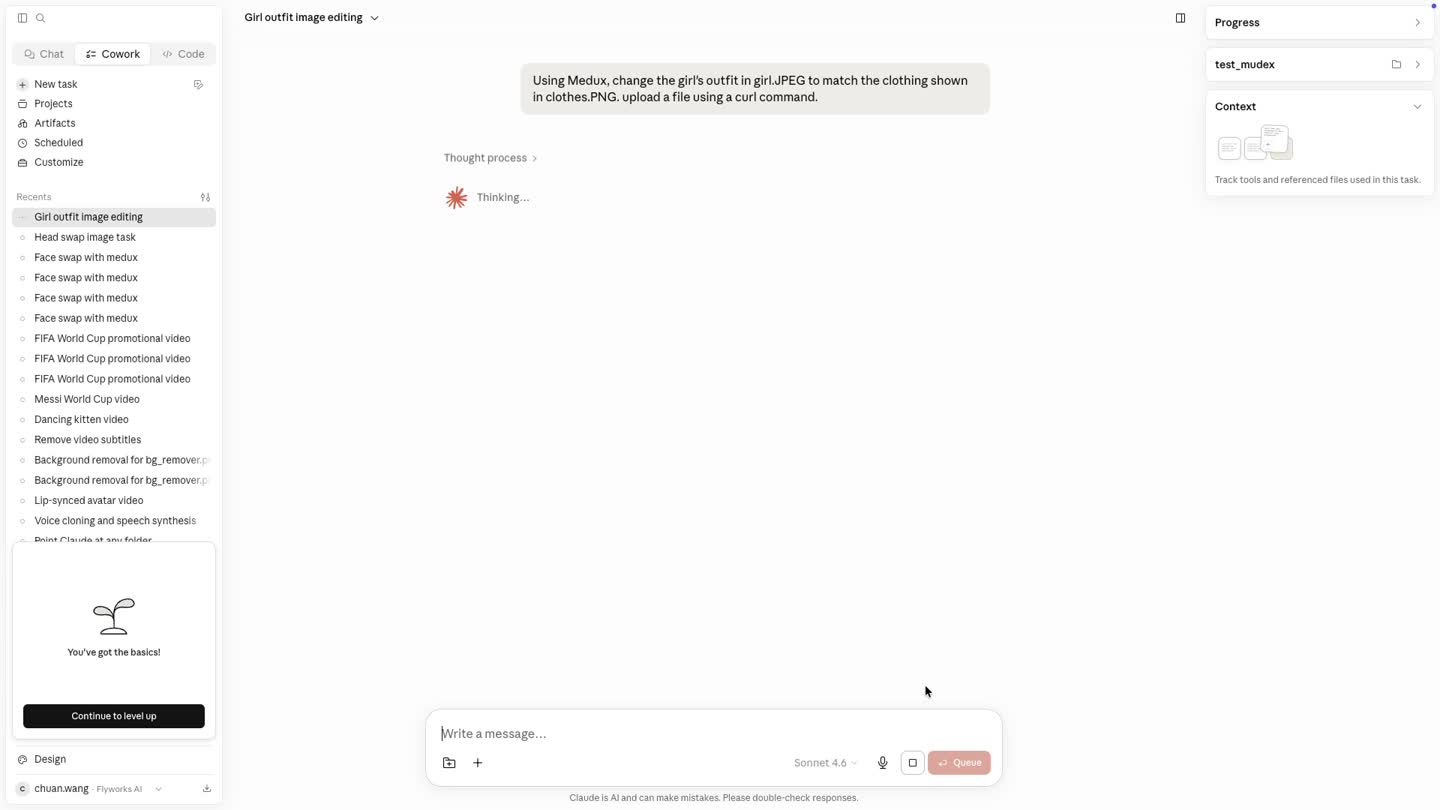
Claude checks that the files exist, requests upload locations, and uploads the two images. In the recorded workflow, it creates a small helper when direct sandbox uploads are restricted, then completes the uploads through the browser or terminal.
# Generic upload pattern used by the workflow
curl -X PUT "<MEDUX_PRESIGNED_UPLOAD_URL>" \
  -H "Content-Type: image/jpeg" \
  --data-binary "@./girl.JPEG"

curl -X PUT "<MEDUX_PRESIGNED_UPLOAD_URL>" \
  -H "Content-Type: image/png" \
  --data-binary "@./clothes.PNG"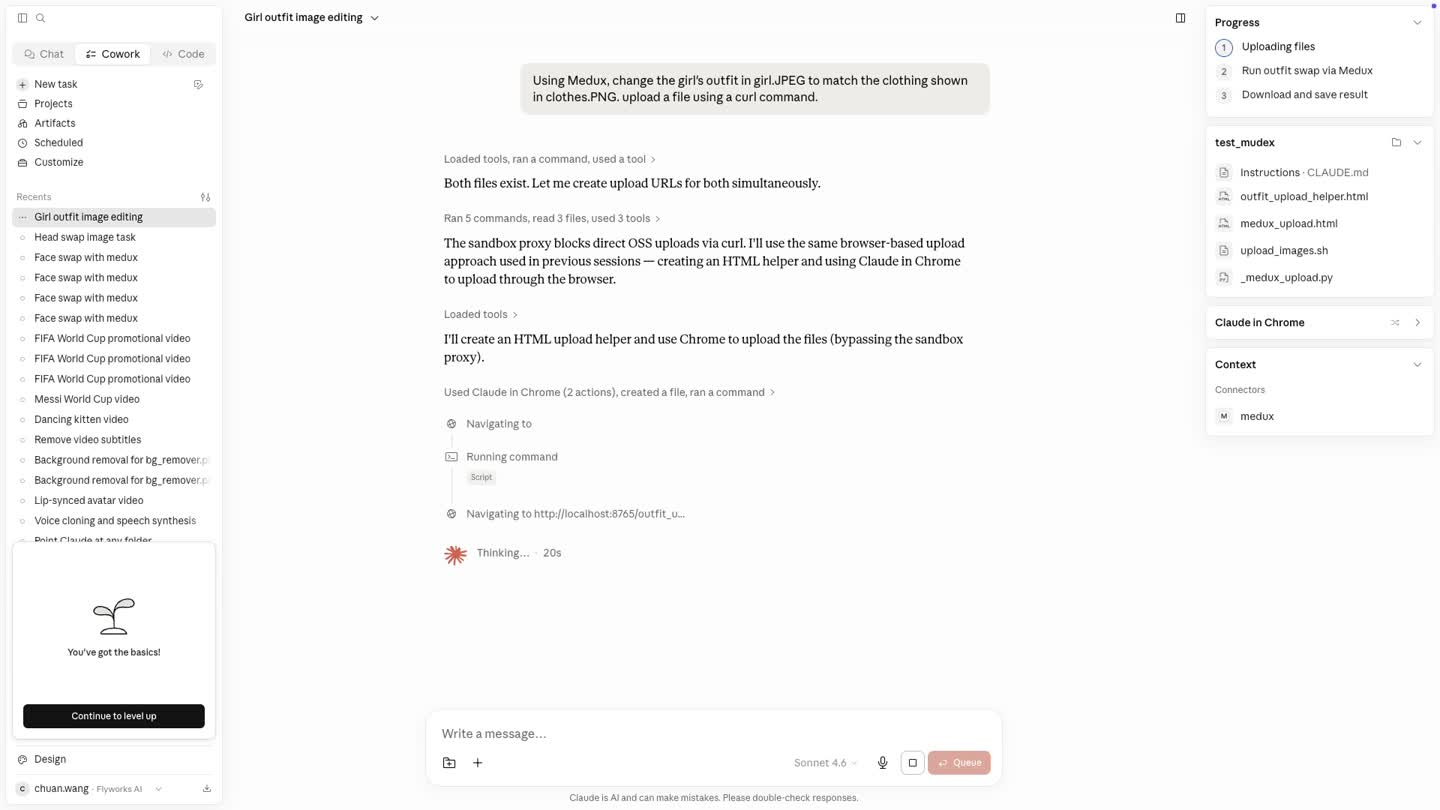
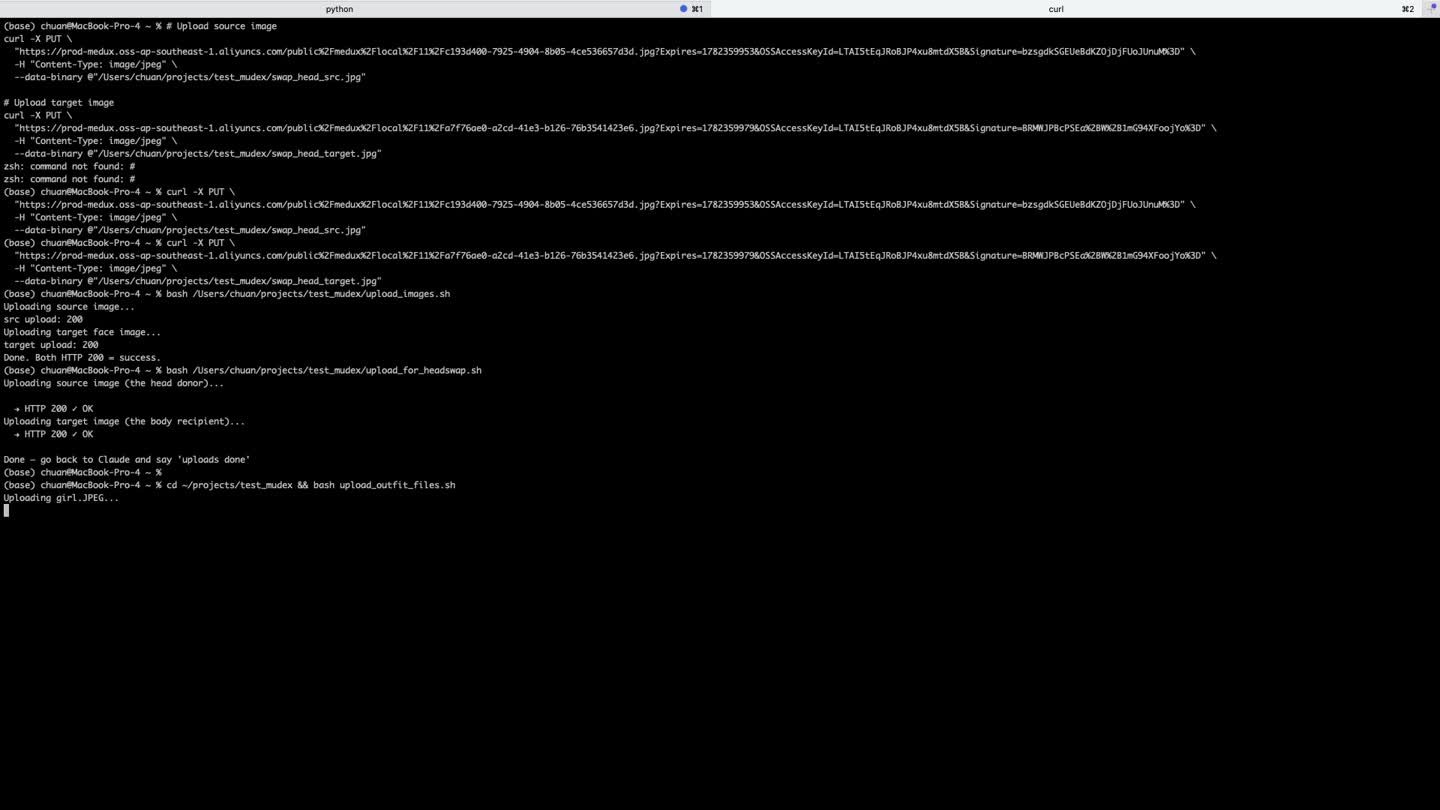
After both uploads succeed, Claude calls the Medux outfit-change tool through MCP. It passes the uploaded source image and clothing reference, starts the task, and waits for Medux to finish the AI rendering.
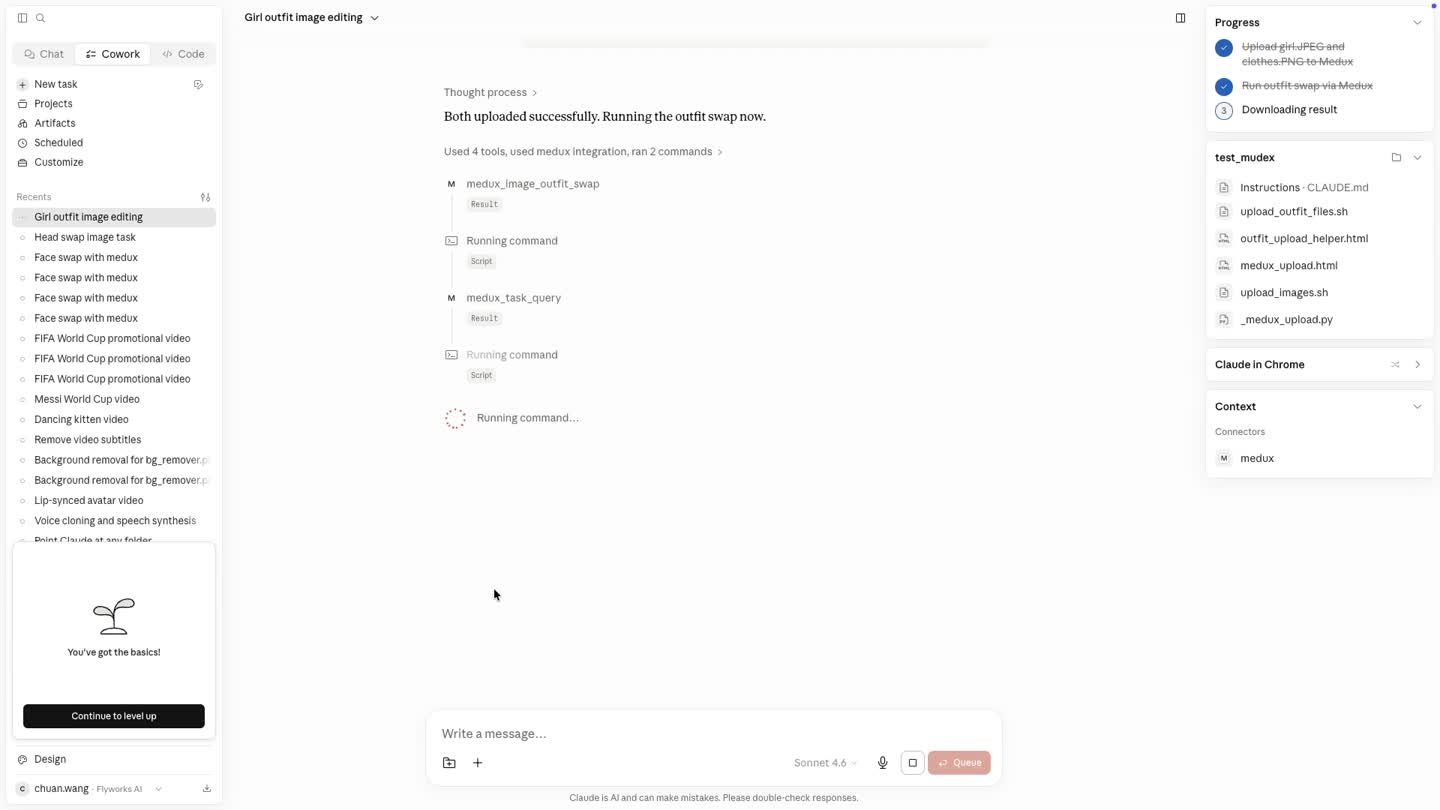
When processing is complete, Claude receives the output URL, downloads the generated image into the project folder, and reports the saved file path. Open the result and verify that the clothing changed while the person, pose, and overall scene remain consistent.
Example result
Below is a complete visual example for this tutorial: src is the original source image, tgt is the outfit reference image, and rst is the final Medux output.

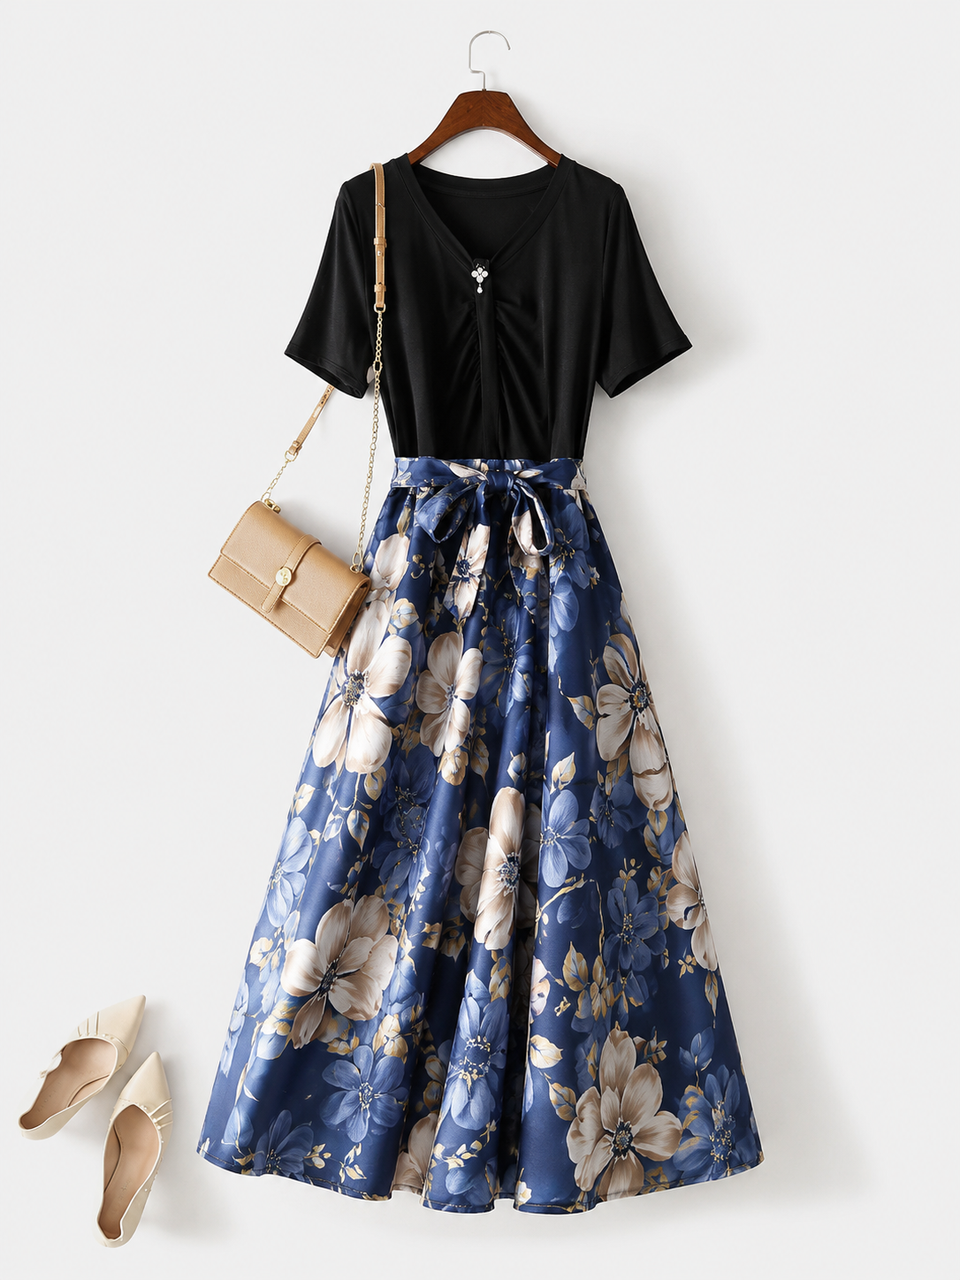

The final output keeps the original subject and composition while replacing the outfit with the clothing shown in the reference image. The full workflow stays inside Claude: one instruction, one MCP connection, and a downloadable Medux result.
Reuse this structure for other outfit-change tasks.
Using Medux through MCP, change the outfit of the person in <SOURCE_IMAGE> to match the clothing in <REFERENCE_IMAGE>.

Preserve the person's identity, pose, body proportions, lighting, and background. Upload both files, run the outfit-swap task, monitor the result, and save the final image locally.Continue with a nearby Medux workflow or compare how the same task works across Claude MCP and Codex MCP.